Showing posts with label in the garden - planting. Show all posts

Saturday, 1 August 2009

How to take a Basil Cutting

Today's how to is thanks to my mum showing me how to do this earlier in the week - thanks mum!

To make cuttings from a basil plant select a non flowering shoot.

1.Select shoot and remove the top 4 inches with a clean, sharp knife, cutting under a leaf joint.

2. remove bottom 2 leaves and plant.

Prepare a small flowerpot with seed compost and put cutting in 1 - 2 inches deep

Tip - planting cuttings around the edge of a pot will help to form stronger roots, as roots split and branch when they hit a surface.

3. Alternately, fill a clean jam jar with water and pop it on a nice light (but not hot) windowsill . Put the cutting into the water.

Change water daily and you should be able to watch the roots growing (2 - 4 weeks) Transfer to seed compost when good roots have formed.

When established cuttings should be planted up to a larger pot, watered in a placed on a bright windowsill.

Now you have lots of basil plants why not give some away to friends and neighbours? You might even get something different in return!!!

Thursday, 21 May 2009

Tomatoes and the generosity of strangers

Most of you reading will have heard of freecycle, a scheme where you offer unwanted 'stuff ' for others to pick up if they need some. Over the past few weeks we've freecycled lots of unwanted clutter from the house.
Yesterday, we collected some unwanted plants from a local grower and I was able to double the varieties of tomatoes we are growing this year!!
So now as well as the 'Gardeners Delight' we bought as young plants and the 'Alicante' Little Jonesey grew from seeds we will have 'Garden Pearl' in our hanging baskets, 'Beefsteak' in the greenhouse and 'Moneymaker' in tubs in the sunny spots in the garden!!
Hopefully the harvest will be vast and I'll be able to pop a jar of homemade chutney back in to the lady that kindly gave me the plants.

Tuesday, 19 May 2009

My Freedom Garden Update

Our very first Nastutium Flower!!!

We've not grown these before but they are dead easy, the leaves, flowers and seeds are all edible!

The rain over the past week has really done the garden good, let me take you on a tour of some of the highlights....

Our first year growing tomatoes, they are up to 2ft high now but I'm surprised how early they are flowering. I've even learnt how to nip out the side shoots!!!


I threw down a handful of rocket seed in the soil at the bottom of the squarefoot planter and its growing great guns!!!


Redcurrants are bountiful this year! Compared to last years harvest of 5 yes count them 5 berries!!!!


No the photo isn't upside down this baby pear is reaching for the sky. Once again only a handful have set. Maybe I will hand pollenate them next year. Does anyone else have any tips for growing pears?


The beetroot leaves are coming on - I've already pinched some for a salad! Apparently taking the odd outone shouldn't affect the beetroot underneath as lon as its limited to 4/5 in total. I need to start some new seedling off soon so we have a second lot to harvest later.

Little Miss Jones' spinach has doubled in size in the past week.

The new strawberryies are growing nicely! These should make a nice compliment to the alpine strawberries I planted last year.

Little Jonesy has been planting up sunflower seeds.


Of course I've had a bit of help from my gardener in training, Little Miss Jones!!

Monday, 18 May 2009

How to recycle your way bigger better plants - Home made suntrap / greenhouse

Sweetcorn, Sunflowers, Strawberries and Beans growing in the Suntrap

We don't have a traditional greenhouse and our conservatory is a cold northfacing one so after our seeds have germinated we transfer them to our homemade (recycled) suntrap to give them a little bit of extra warmth to help them on their way!!

As you can see they are recycled UHT milk cartons, the shiny insides make a great reflective surface to focus the heat onto the plants. Simply wash out your cartons thoroughly the cut open and tape together to make mini suntraps.

I grew two lots of sweetcorn side by side but put a suntrap behind one. Of course there could have been several variables but the one in the suntrap grew about a third bigger so far!!!

Give it a go, you've nothing to lose!!
What clever growing tips do you have?

Tuesday, 21 April 2009

New Starts

Originally uploaded by Thirtyoneteeth

Guess what? For the first time in 6 years I have a job!! I am in old-skool terms a 'dinnerlady' at the local school, for the politically correct it's SMSA (school meals supervisory assistant). Anyhoo, its messing with my schedule, taking me out of the house in the middle of the day. I havent baked for a week now!! Excluding last weeks bread disaster, where it didn't mix properly in the maker so I did it by hand and then it was still runny in the middle when I sliced the loaf - who said the simple life was all roses!

Seeds are still being sown, sunflowers, sweetcorn, parsnips and poached egg plants have all gone in over the last week, as well as planting my beetroot seedlings out into the garden :) On the downside I lost alot of the swiss chard sedling because they got scorched, along with some summer squashes. Tomatoes, chillis and peppers have been potted up.

Whats going well in your garden at the mo? and whats not?

Wednesday, 15 April 2009

How to - Planting Sweetcorn


Monday afternoon I planted the sweetcorn. This was the one vegetable requested by all of the others for me to grow!! I haven't ever grown this before so I've gone for 'Applause' which is a full of flavour super sweet type.


Sweetcorn it turns our is also super easy to plant!


*Fill a 7.5cm pot with multipurpose compost


* Make 4 holes 2.5cm deep in each


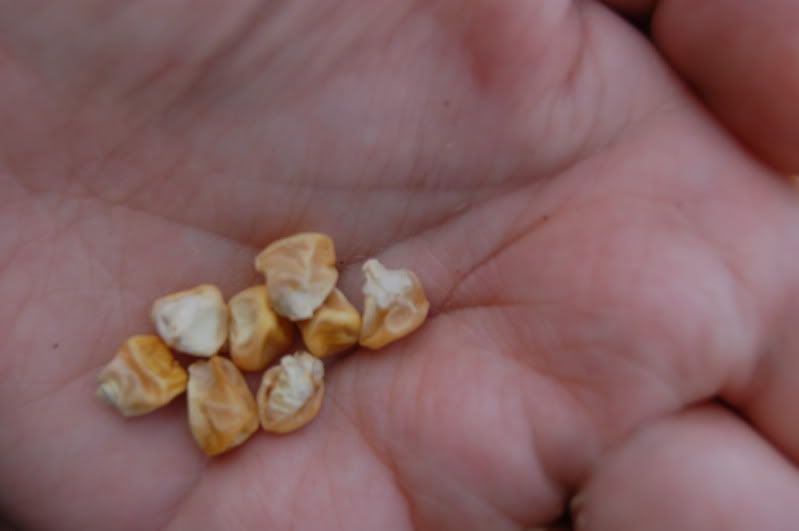
* Plant your seed (kernel?) in the holes - I don't know why but I was surprised to see little shriveled kernels in the packet not seeds!!


* Cover and water. Place on a windowsill and after 2 weeks remove the weakest seedling from each pot.

Mmmmmm I can almost taste it now!

Friday, 10 April 2009

Tutorial: A Frugal way to Plant Carrots


Little Miss Jones loves carrots, she'd eat them all day long, so there is no way I would leave them off my planting list but for really good carrots you need well prepared borders or nice deep pots. My square foot bed isn't really deep enough and I don't have any big pots left at the moment!

Thinking cap on, I've come up with a way that will give lots of nice straight growing length, be free draining and hopefully fox those carrot root flies too!

My Thrifty Carrot Planter

you will need

Sharp Scissors

2 ltr (lemonade type) plastic bottle

Compost

Dibber / Finger

Carrot Seeds


Method

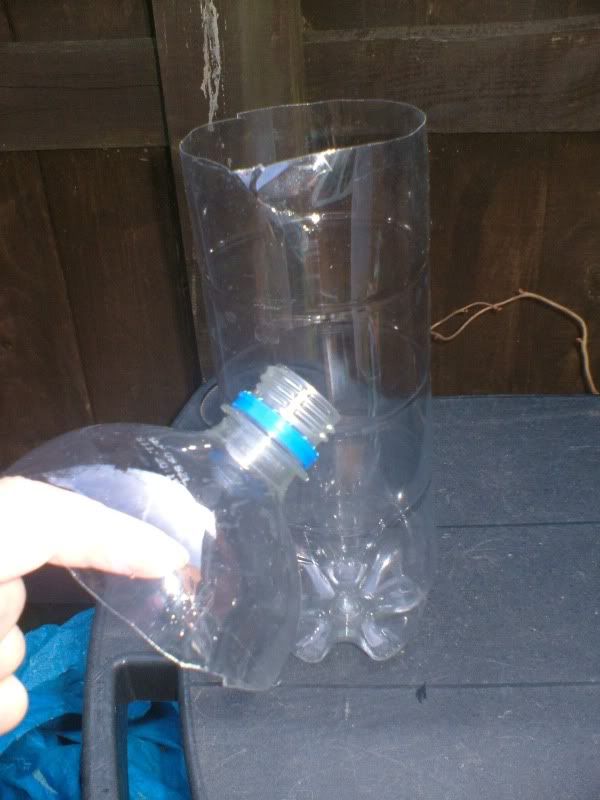
Cut the top bit off your plastic bottle ( see pic ) this should include the shoulders and 3/4" of the sides.


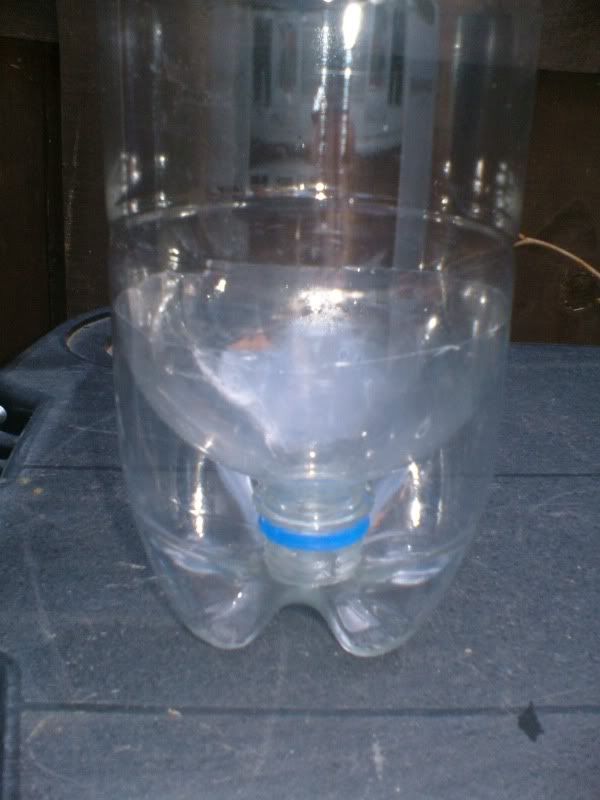
Invert the top and push it all the way to the bottom of the bottle. This should allow excess water to drain off safely.

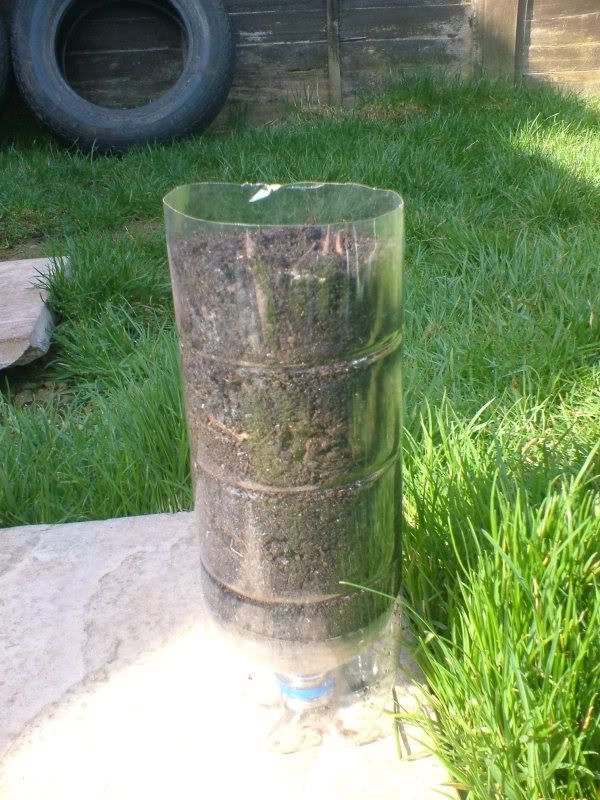
Pour a handful of small gravel into the bottom of the bottle then fill up with compost.


Using your dibber / finger make 4 holes in the compost 2cm deep. Leave enough room between hols and sides to allow 2 to grow to maturity and 2 to be harvested as baby carrots.

Plant seeds and cover with compost. Water.


Wednesday, 8 April 2009

The perfect FREE propagator for sprouting seeds???


sushi seed propagator

Have you worked out what it is yet? I'm a bit of a sucker for Tescos sushi and about 3 or 4 times a year I give in and buy some if I'm out and without lunch. This time as I sat in the car munching on my californian rolls I looked at the box and it screamed propagator to me!!!

The box was cleaned thoroughly and I folded a kitchen roll up into a 9th and popped it inside - perfect fit. I moistened the kitchen roll and sprinckled it with red cabbage sprouting seeds - and a few mustard seeds I had spilt from the packet and accidently mixed, at the weekend!!

Voila, perfect little propogator to get them started!

What have you managed to see in a new light and reuse????

Monday, 23 March 2009

Greenhouses and seeds


Our plot is too small for an actual green house but so many of the vegetables we like to eat in the summer seem to require hotter growing conditions than 'in the garden' can provide. So at the weekend I treated us to a mini greenhouse!! Whilst we were at the store I let the children buy a packet of seeds each Little Miss bought a mixed selection of herbs to grow on her windowsill and Jonsey bought Tomato seeds (never tried these before!!) OMJ bought parsnips and swede!


We spent an hour or two planting seeds then scuttled them of to their various homes.


Beetroot and Swiss Chard have both been popped in the mini greenhouse for now as the raised beds aren't quite ready. Tomatoes, Bell Peppers, Courgettes and Chillis in the heated propogator. Herbs (Basil, Parsley, Chives, Coriander) were placed in the airing cupboard in their own little propogator until germinated - as recommended on the pack!


Our garden looks very empty at the moment but by late spring it should be packed!!! As well as 2 raised beds by the conservatory (part shaded) we have a 2 x 4 square ft bed in the back border.

Future plans include shelves and hanging baskets on the rear (south facing) fence, window boxes on the shed and summerhouse, raised beds down the side fence (shaded) ...... and possibly attacking the front garden too!!!!